3D Profiler Sensors:
Z-Trak
Z-Trak is a series of 3D profile sensors delivering high-resolution, real-time height measurements using laser triangulation.

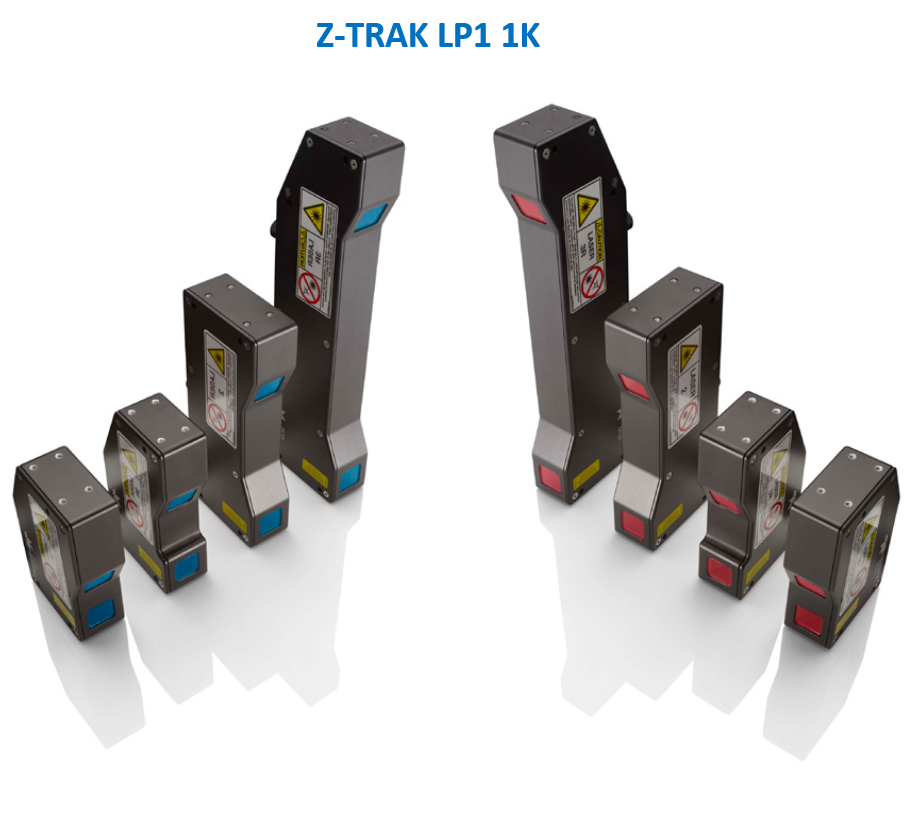
Z-Trak LP1
1,024 Measurements / profile
- In-line 3D height measurements
- World measurement units
- Scan Speed: ROI up to 3K profiles / sec
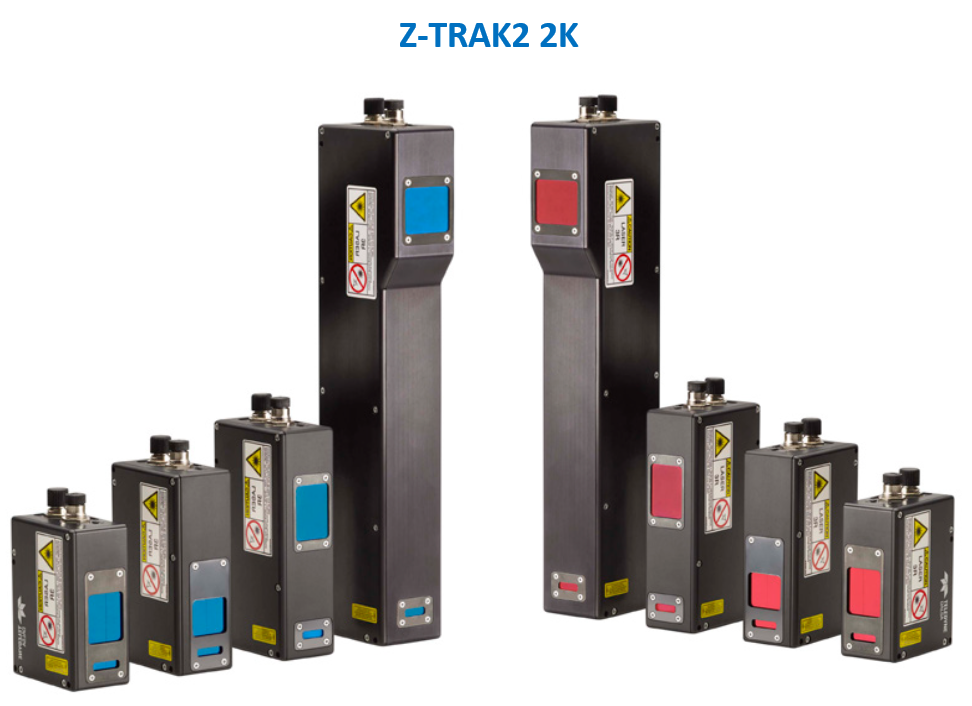
Z-Trak2
2,048 Measurements / profile
- In-line 3D height measurements
- 1, 2.5 and 5GigE interface
- V model: AOI up to 10K profiles / sec
- S model: AOI up to 45K proflies / sec
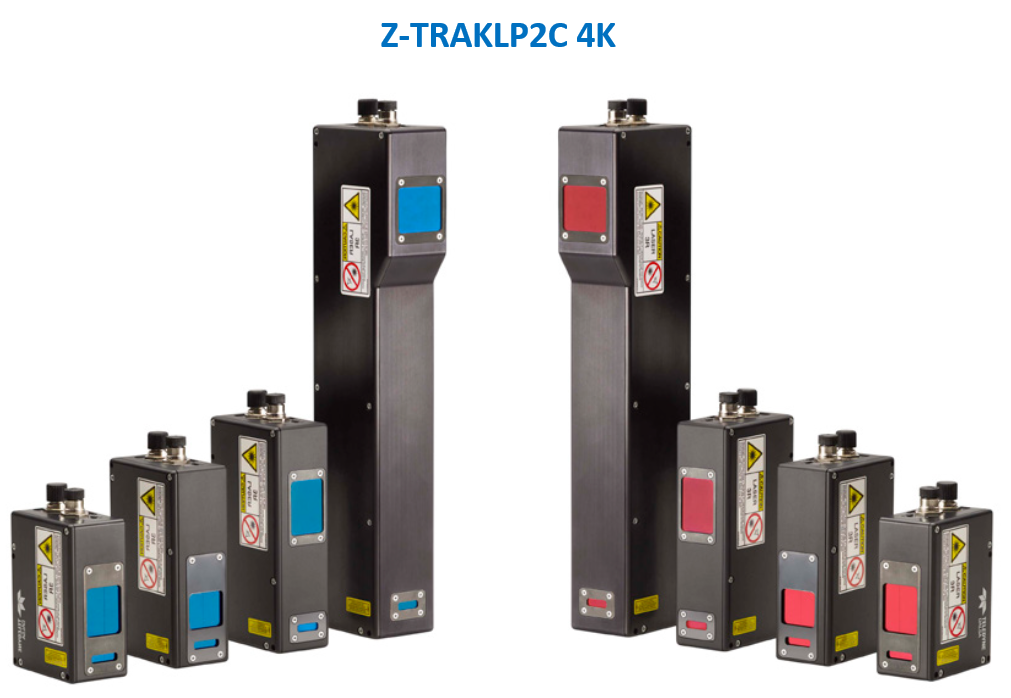
Z-Trak LP2C
4,096 Measurements / profile
- In-line 3D height measurements
- Wide selection of red (660 nm) and blue (405 nm) laser models
- Scan Speed: AOI up to 5K profiles / sec
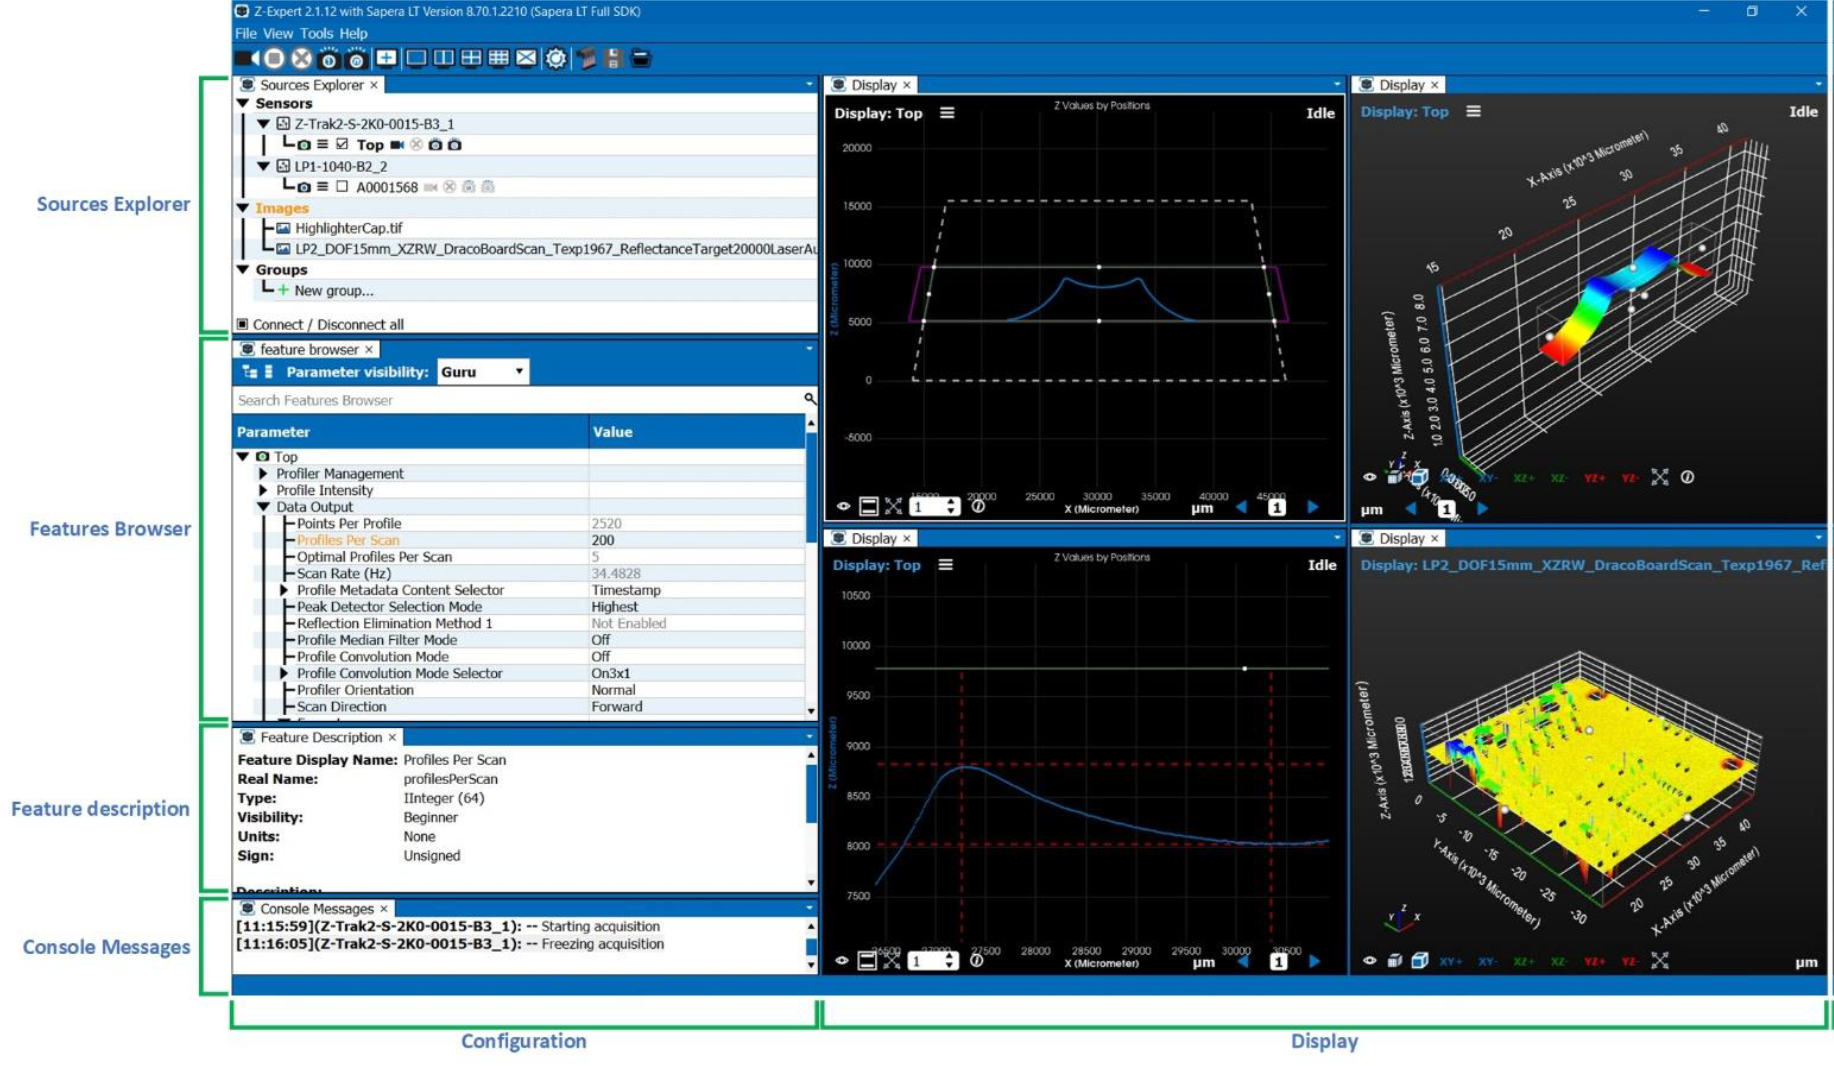
Z-Expert GUI
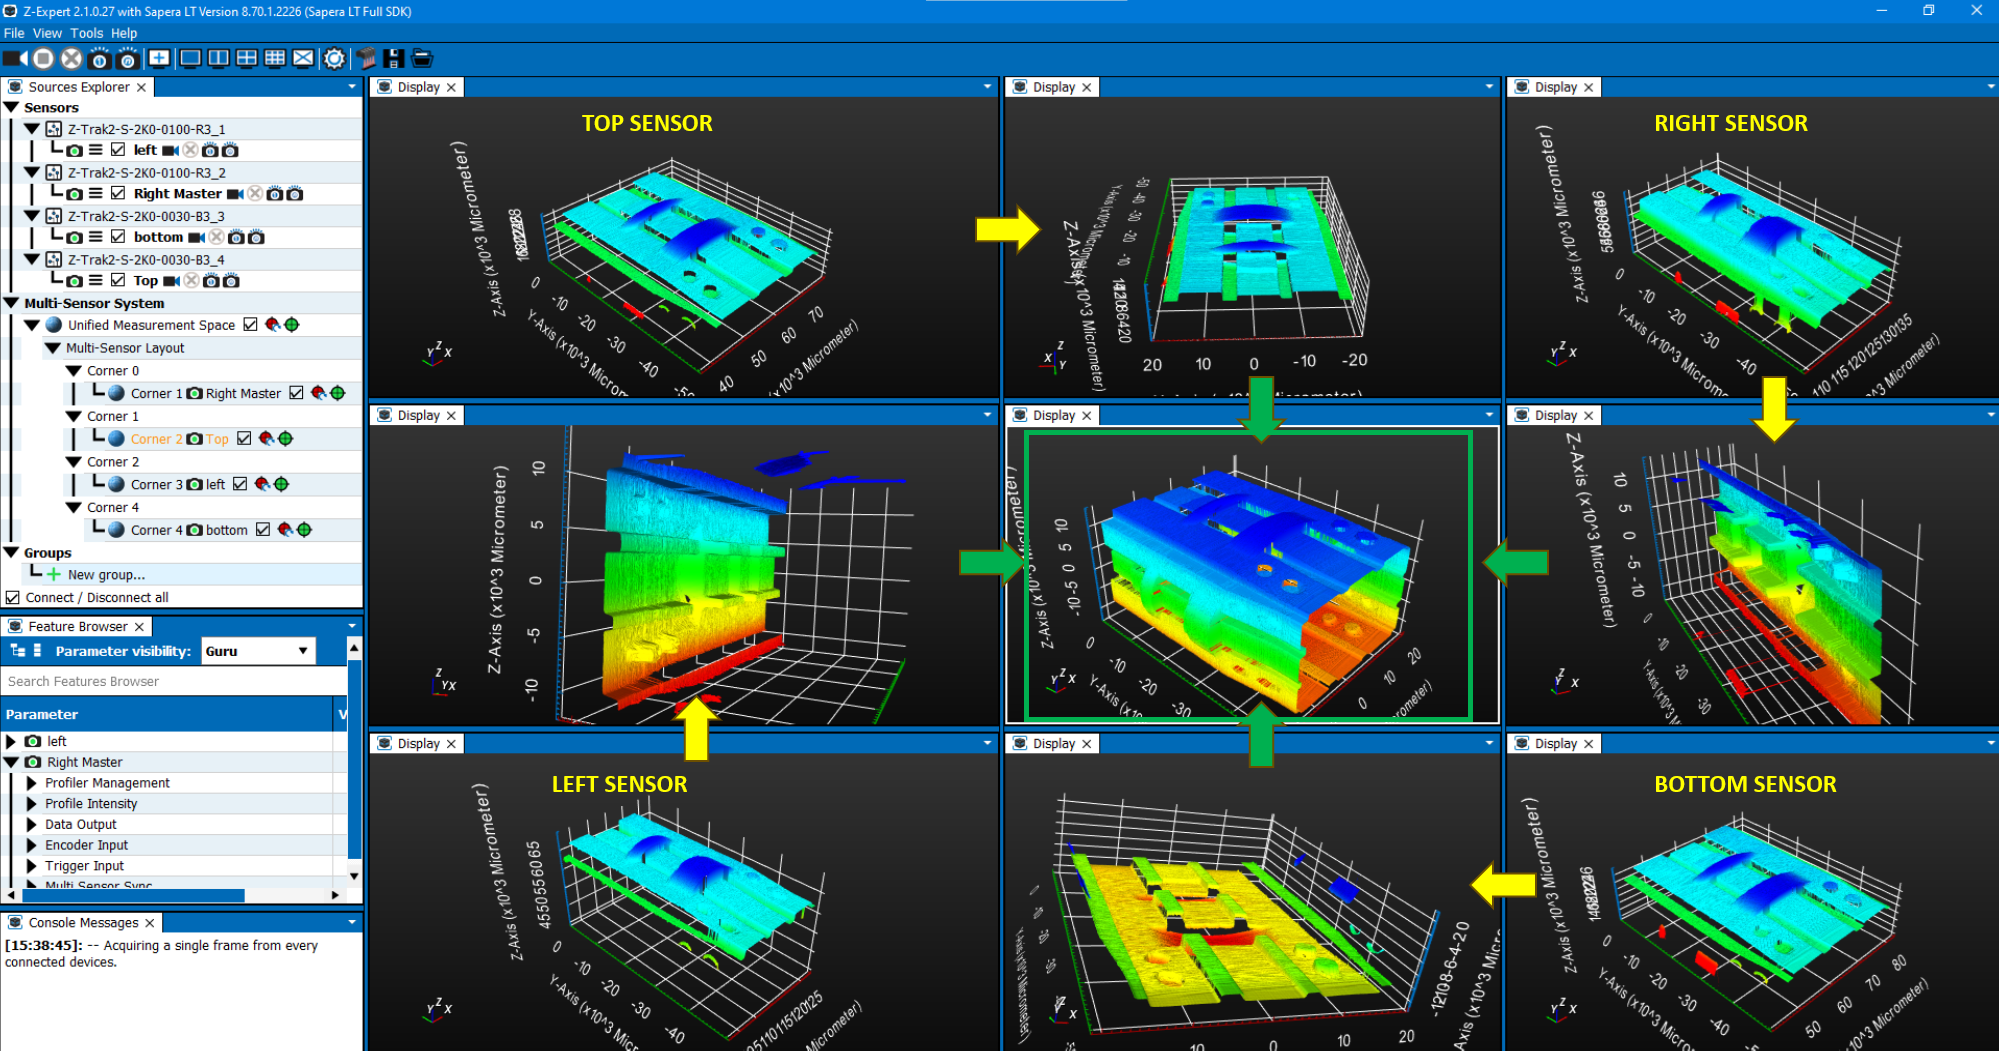
Z-Expert interface consists of a configuration section to set the features your 3D Camera sensors, and a display pane to show the results of acquisitions. The different windows of the configuration section can be hidden/shown, resized, and reorganized within the interface (pane, standalone window, etc.).
Multi-Sensor Systems
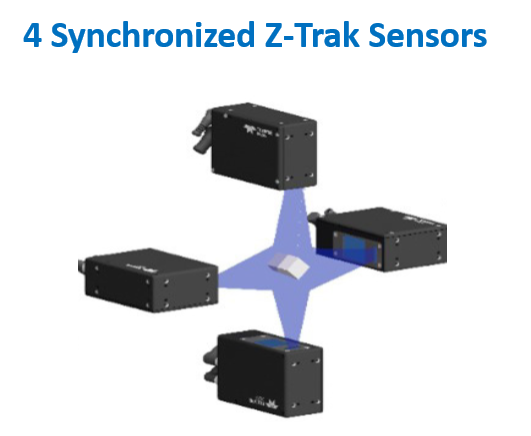
Several Z-Trak profiler sensors may be configured over or around an object to enlarge the measurement area, measure different areas of interest, or eliminate occlusion. In some cases, profile acquisition may be triggered synchronously or in sequence between sensors. In other cases, a larger, unified measurement space (UMS) can be created, such that all sensors report measurements within the same coordinate system.
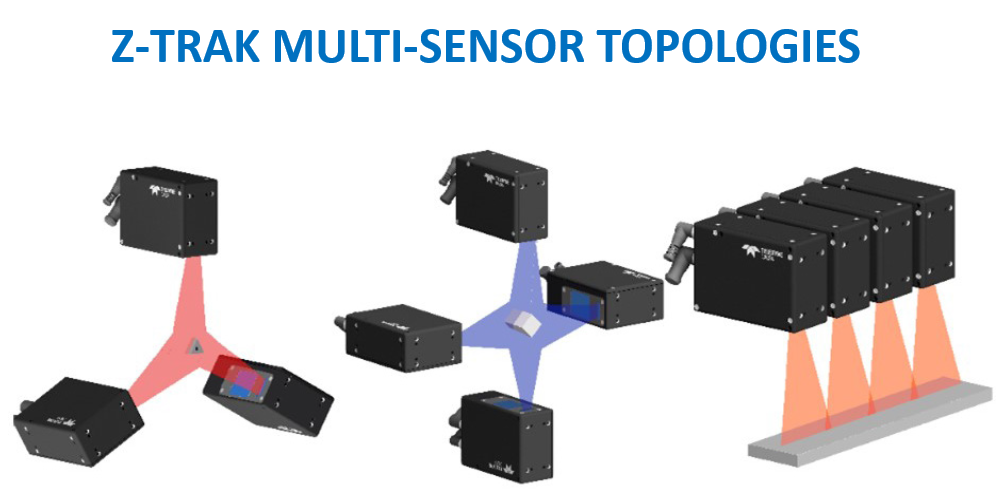
Multi-Sensor Configuration and Unified Measurment Space (UMS)
3D inspection applications requiring 360° views, thickness measurement, an extended horizontal field of view without sacrificing the z-resolution or removing occlusion etc. require the combination of multiple profile sensors.
Combining and synchronizing multiple Z-Trak 3D Camera sensors helps create a Unified Measurement Space so that applications view the resulting 3D measurements from the point of view of the entire system. The 3D applications benefit from consistent, accurate and easier to handle object measurements and for added flexibility, the Z-Trak LP architecture also enables models with different measurement ranges and laser colors to be combined.
Z-Trak 3D Apps Studio
FEATURES
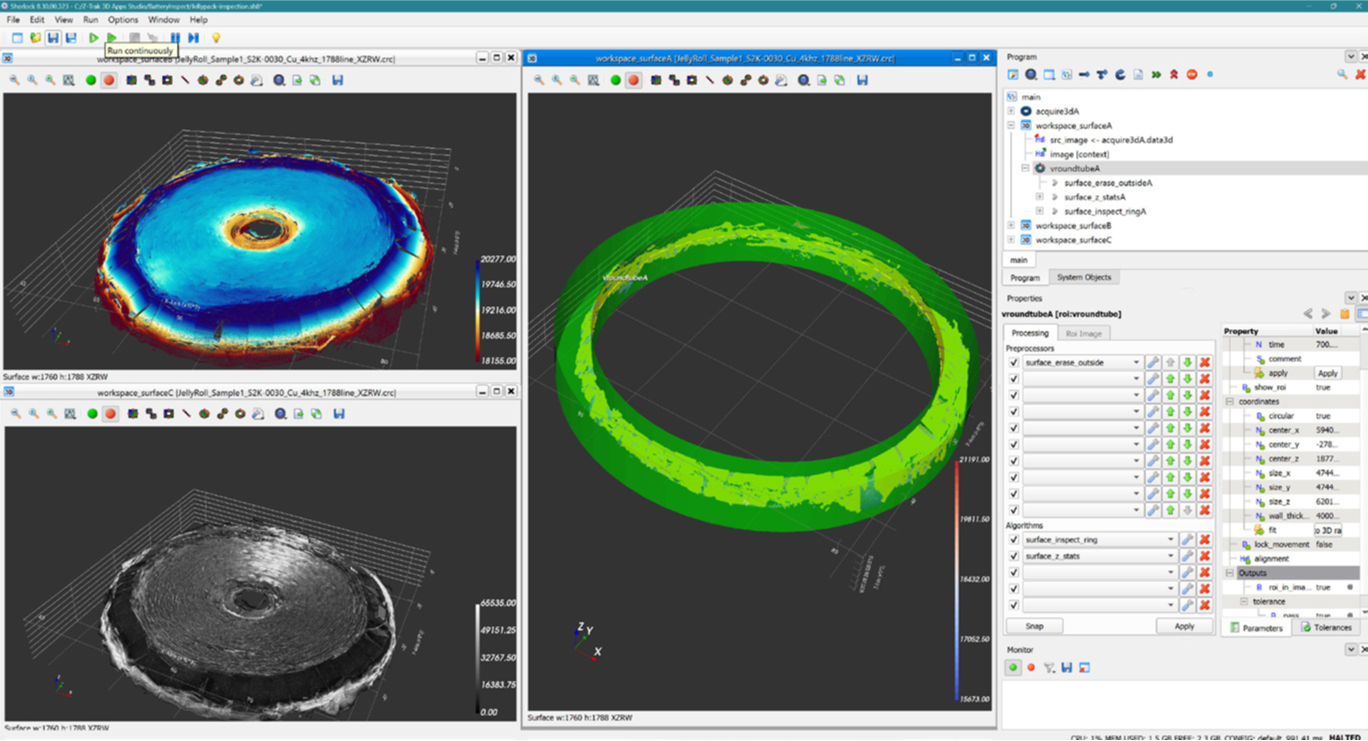
• New 3D tools for defect inspection on flat, curved, or circular parts
• Thickness measurement tool
• Bead profile tool delivers critical dimension and location data
• Reflection elimination tool for improved measurements
• Preserve data integrity when working with data from multiple sensors
• Simultaneously acquire and process 3D scans and 2D images (reflectance data)
• Expanded set of fully documented reference examples and programs
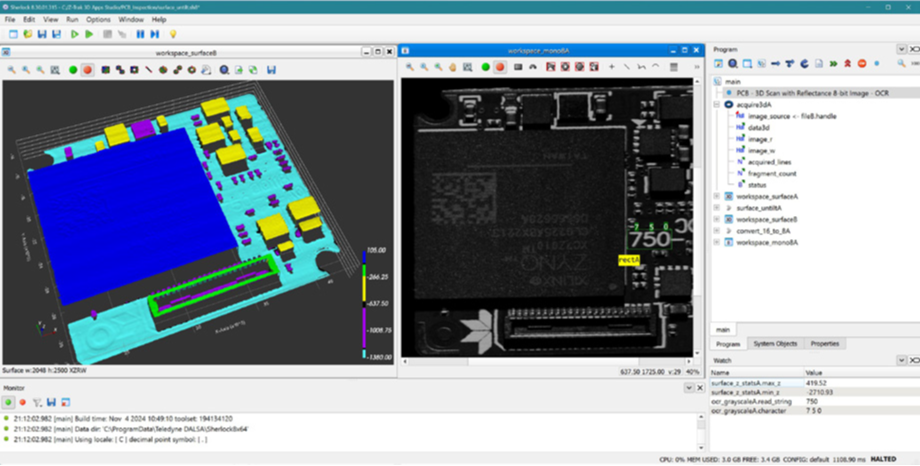
Application: PCB inspection
Tasks:
• Identify parts based on the position and height data
• Read character strings from PCB silk screened text
Challenges:
• Remove un-wanted reflections from sections
• Dynamic height thresholding to identify components
• Extract and read characters from the silk screen
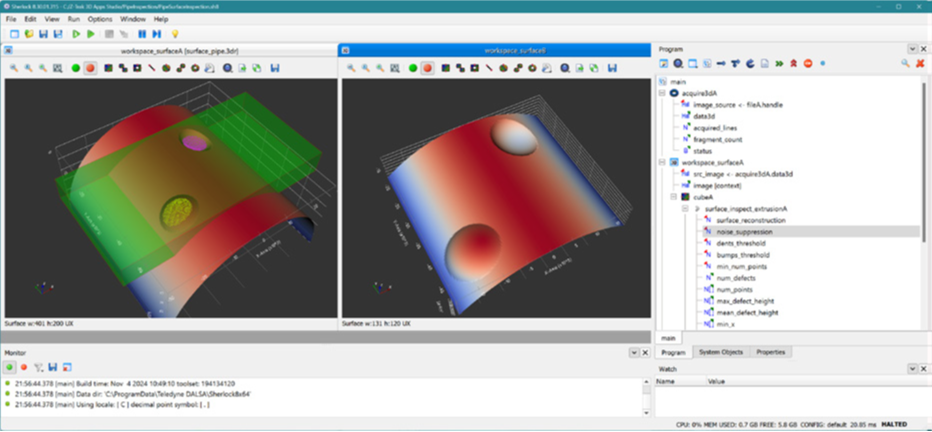
Application: Pipe inspection
Tasks:
• Inspect surfaces of extruded pipes
• Identify dents and bumps meeting specified criteria
Challenges:
• Combine data from multiple sensors in a ring layout
• Remove un-wanted reflections from specific sections
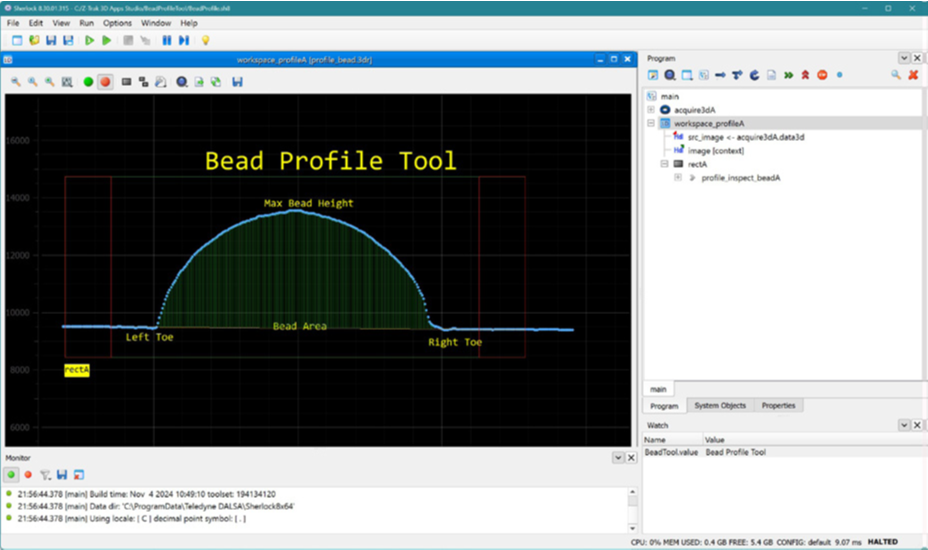
Application: Glue bead inspection
Tasks:
• Inspect profile of a bead for shape and size
• Locate and measure critical bead dimensions
• Measure area/volume of the bead
Challenges:
• Acquire and combine 3D profiles from multiple sensors positioned at +/- 45° from the center
• Locate and correct tilt in the bead base
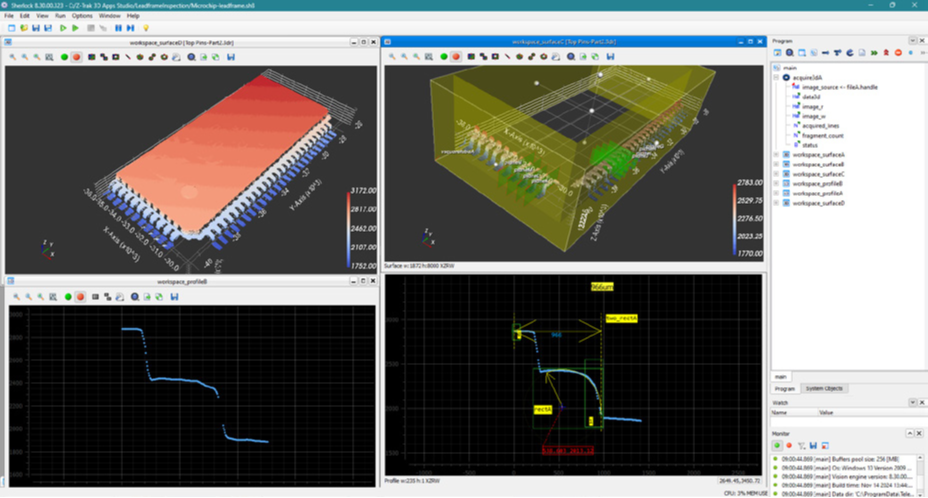
Application: Lead frame inspection
Tasks:
• Measure critical dimensions of microchip leads
• Identify missing or bent leads
Challenges:
• Minimize sensor count, while ensuring the highest resolution
• Remove/reduce effect of un-wanted reflections
• Minimize processing time
